
Hi All,
We have already started the Warehouse Management System (WMS) Process in AX 2012 R3 from my last post where we have seen the basic set ups & configurations. Now we will continue with it and will go ahead. Today in this post we will discuss about the Inbound process. Inbound process is nothing but the normal Purchase Order process which we will achieve now through the WMS. Warehouse Management System is also sometimes called as the Mobile Device Scanning process because we will now process the purchase order through mobile device or scan gun.
We have few more set ups to be done like Location Directives, Work Template and Mobile Device Menu Items which we will learn to configure in this post.
For the basic set up and configuration (as in my last post), you can check from here and then proceed.
Location Directives
Location Directives are used to direct work transactions to the appropriate location in the warehouse. For example, in a purchase order transaction, a location directive determines where the items will be picked and where the picked items will be put.
User can use location directives to do the following:
- Receive the incoming items.
- Pick and put items for inbound transactions.
- Pick and put raw materials for production.
- Replenish locations.
For setting up a Location Directive for a Purchase Order, follow the below steps:
For PICK
- Navigate to: Warehouse Management > Set Up > Location Directives
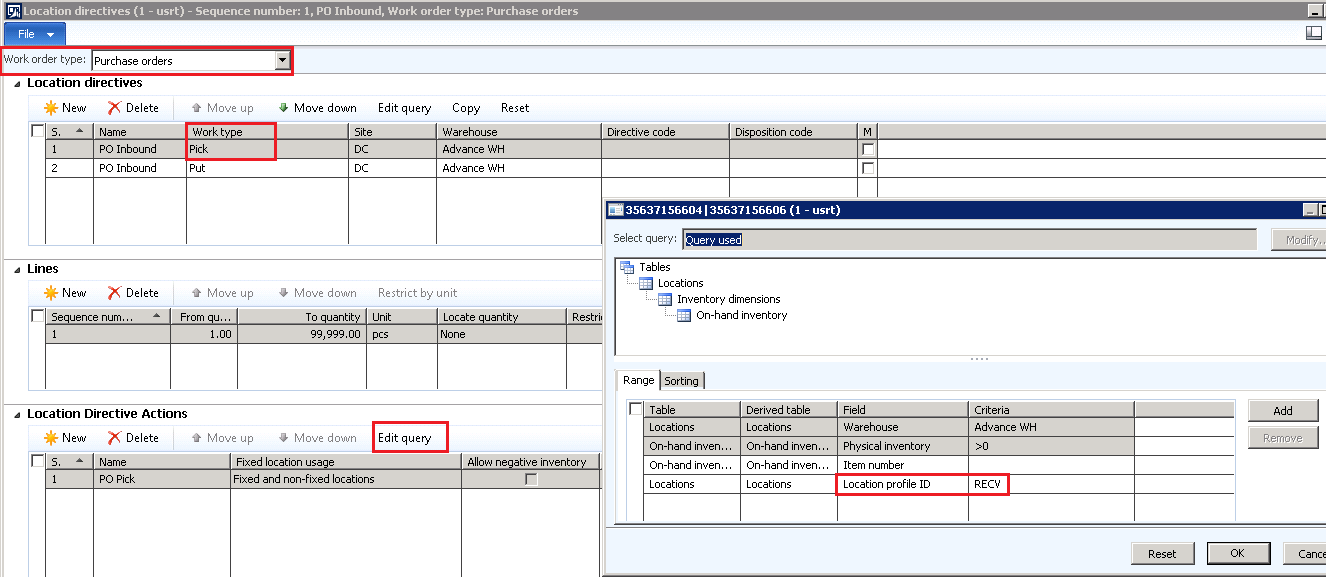
- Select the Work Order type of the Location Directive form as Purchase Order. Click New to create a record and select the Work type as Pick.
- Enter the Site and Warehouse for the Pick.
- Under the Lines fast tab enter the From and To quantity that will be valid for.
- Create a record in the Location Directive Actions fast tab and click Edit query. Under Edit query, enter the Location Profile ID from where the items will be Picked from. So the items in this case will be picked from the RECV Location.
For PUT
- In the same form, Click New to create a record and select the Work type as Put.
- Enter the Site and Warehouse for the Put.
- Under the Lines fast tab enter the From and To quantity that will be valid for.
- Create a record in the Location Directive Actions fast tab and click Edit query. Under Edit query, enter the Location Profile ID where the items will be PUT. So the items in this case will be PUT to the BULK Location.

So in short, while the orders will be processed, this Location Directive will give a location from where the items will be Picked and the Location where to PUT.
Work Templates
A work template is used to create and process warehouse work at various stages in the warehouse management process. For example, a purchase order has been received, so a work item must be created for somebody to go and pick items from the defaulted receiving dock and follow the location directive action to put the item away in a particular location.
User can use Work Templates to do the following:
- Inbound transactions.
- Picking of inventory items.
- Production tasks such as picking or putting of raw materials.
- Inventory transfers.
- Movement of inventory items between locations.
- Replenishment of locations.
For setting up a Work Template for a Purchase Order, follow the below steps:
- Navigate to: Warehouse Management > Set Up > Work > Work templates.
- Select the Work Order type of the Work Template form as Purchase Order. Click New to create a new record.
- In the Lines create two records having the work type one for PICK and another for PUT.
- Click Edit Query at the header to specify the Warehouse.

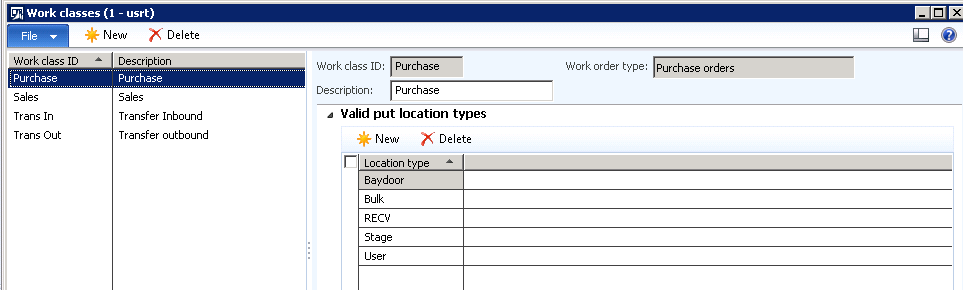
Note: Work Class IDs are basically the Location types defined while processing the particular Work. This is the place where system will validate or match the Locations for particular process. Navigate to: Warehouse Management > Set Up > Work > Work classes.
Mobile Device Menu Items
Mobile device needs to be set for the particular user so that the user can use his/her mobile device to perform the work For Inbound, two set up needs to be done-
- Purchase Receive
- Purchase Put- Away
Purchase Receive
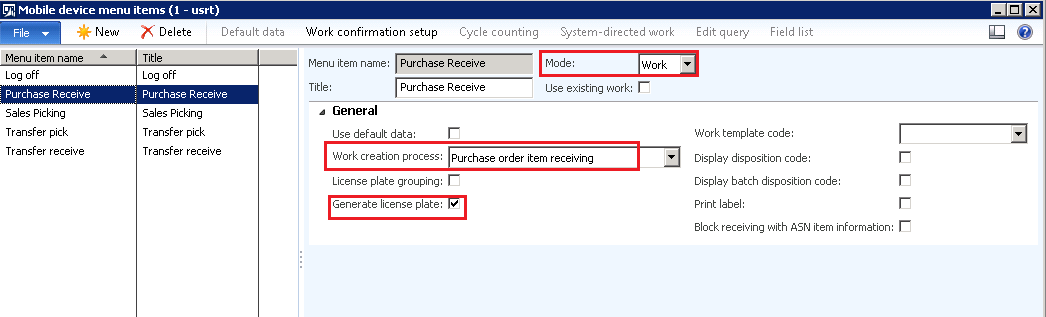
Follow the below steps to create a Purchase Receive in Mobile Device-
- Navigate to:Warehouse Management > Set Up > Mobile Device > Mobile Device Menu Items.
- Click New to create a record.
- Select type as Work under Mode.
- Select Purchase Order Item Receiving under Work Creation Process.
- Select the Generate LP check box checked.
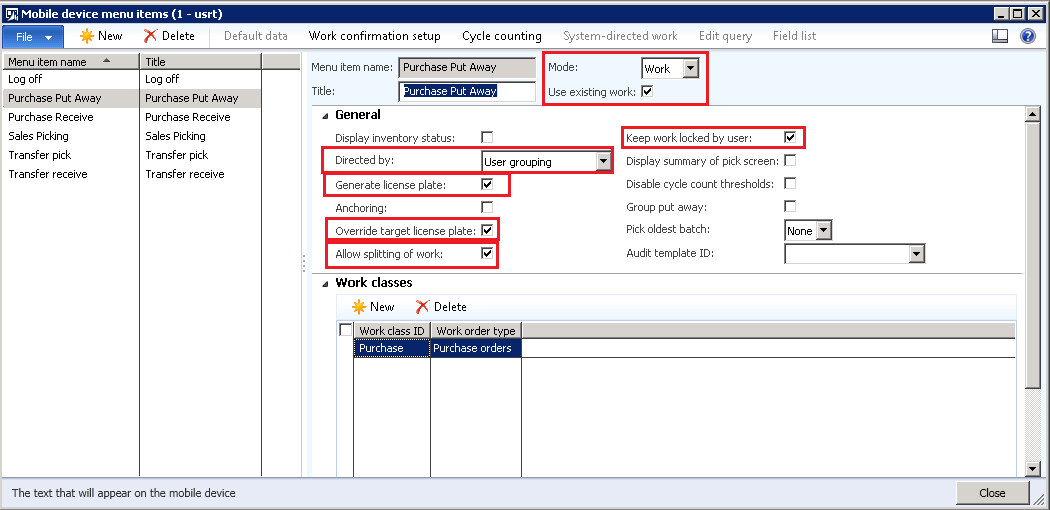
Purchase Put Away
Follow the below steps to create a Purchase Receive in Mobile Device-
- Navigate to:Warehouse Management > Set Up > Mobile Device > Mobile Device Menu Items.
- Click New to create a record.
- Select type as Work under Mode.
- In Directed by, select user grouping.
- Select the Generate License plate, Override target LP& Allow Splitting of Work check box checked.
Mobile Device Menu
Once the Mobile device menu items has been created, its time to attach these Menu items into the menu.
Navigate to: Warehouse Management > Set Up > Mobile Device > Mobile Device Menu.
Click New and enter the name as Inbound. Under Inbound,move these menu items from right to left (Purchase Receive and Purchase Put Away). So these items will be displayed at the time log in.
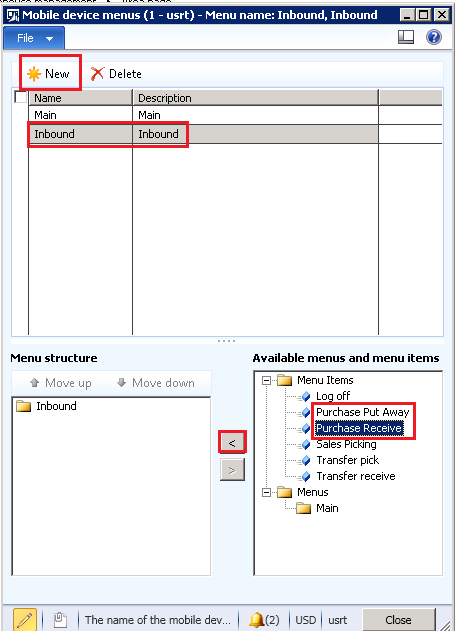
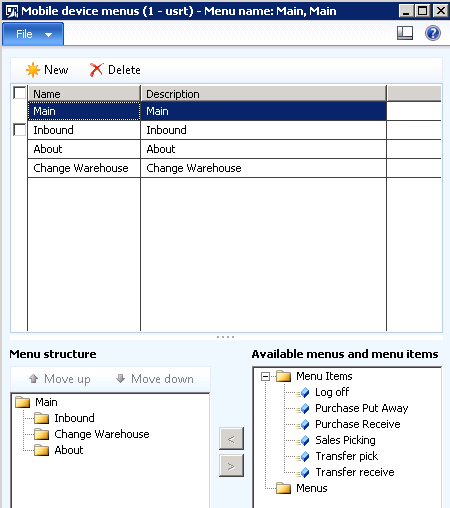
And Later, select this Inbound into the Main Menu.
Set the User ID and Password for the Worker
To scan and process the orders, user needs to log into the mobile device. User or worker needs to set up the log in configuration.
Follow the below steps to set the User ID and password :
- Navigate to: Warehouse Management > Set up > Work Users > Worker.
- Click New and select the Worker.
- Under Users fast tab, add a User ID.
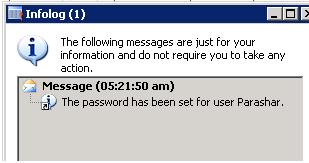
- Once User ID is set, try to save the record. Upon saving, a pop up will come which will ask to set the password.
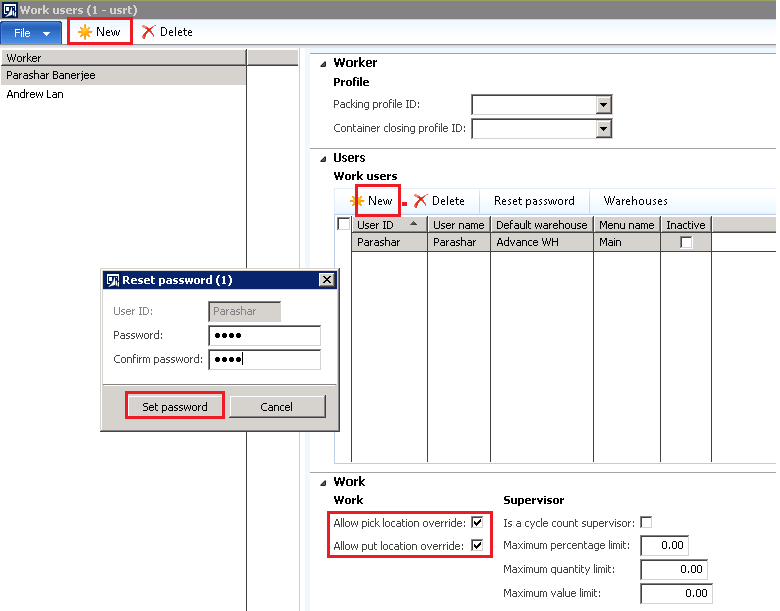
5. Click Set Password.
Now we are done up with all the set ups that are needed for the Inbound process. Now it’s time to process the purchase order by WMS.
Follow the below steps for the Inbound Process-
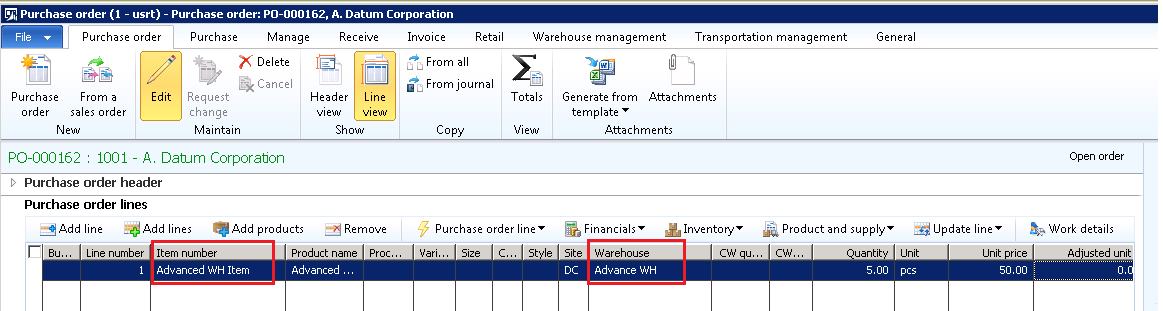
- Create a Purchase Order. Make sure that you have taken the Item as advanced warehouse item and warehouse as advanced warehouse.
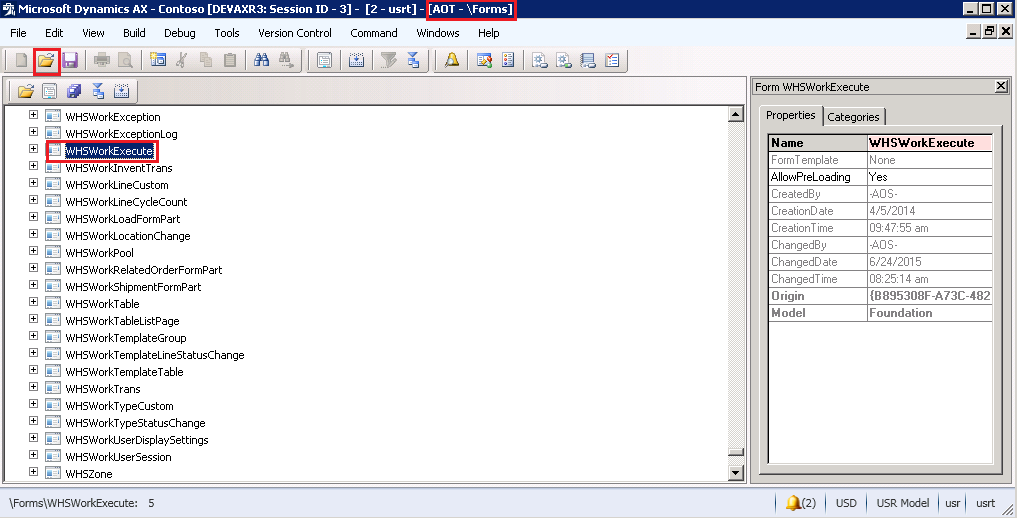
2. Copy the Purchase Order number and open the Form > WHSWorkExcecute from AOT.
3. While opening the WHSWorkExcecute, the login window will appear where user needs to enter the UserID and password (As per the set up)

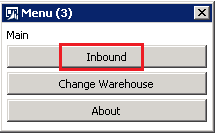
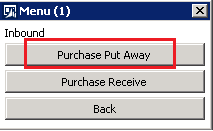
4. After Log in, user needs to click on the Inbound Button.
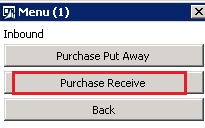
5. Click on Purchase Receive to proceed.
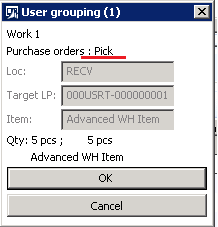
6. Scan with the Purchase Order number and Item number. Scan with the Quantity number.
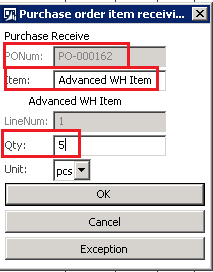
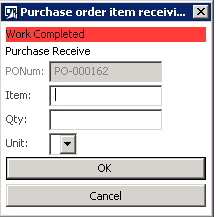
7. Click OK to proceed. At this time, the work gets completed.
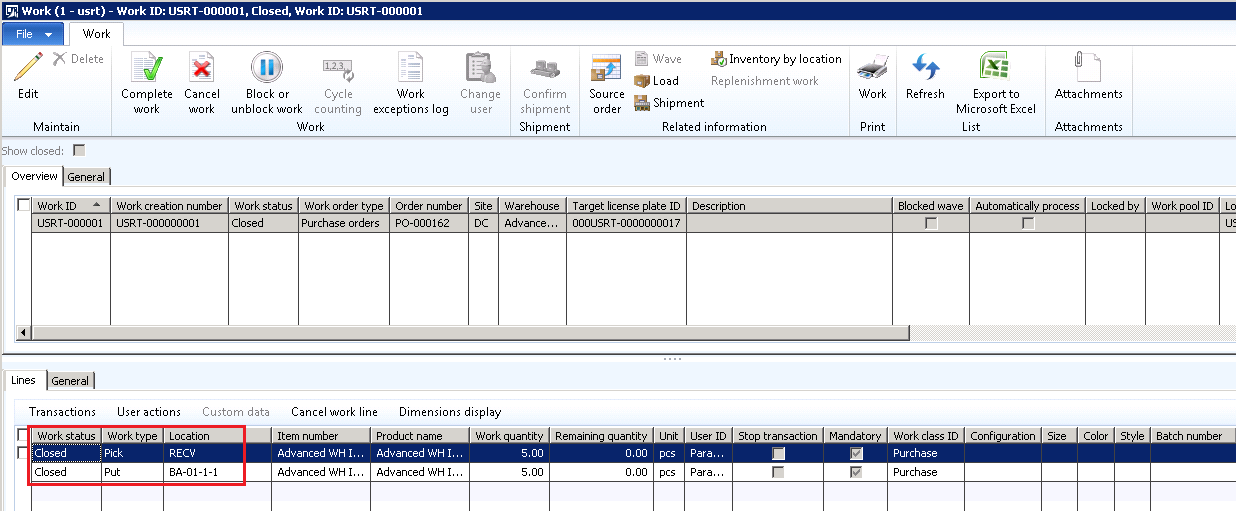
8. Coming to the Purchase Order to view the Work Details.
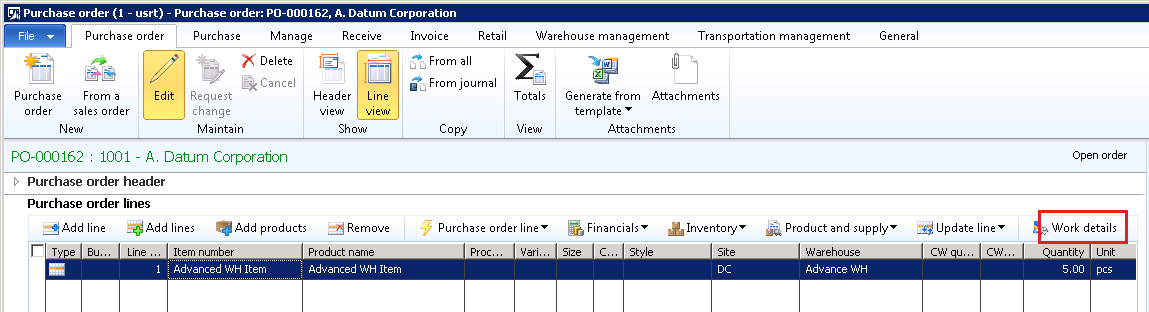
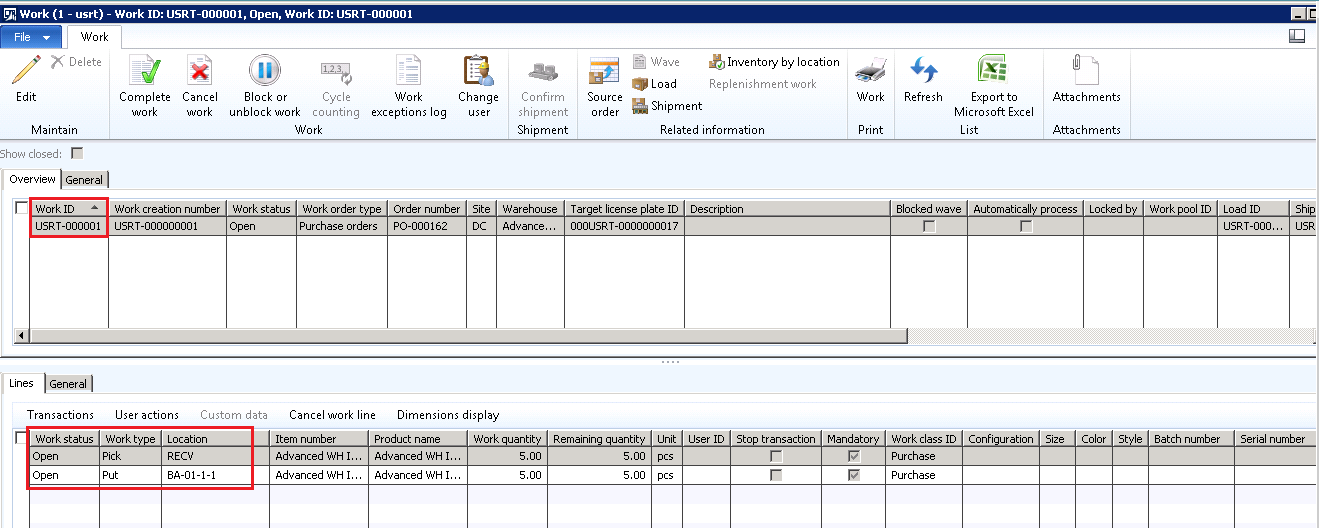
Work details has been created with the Work ID.
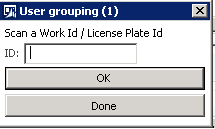
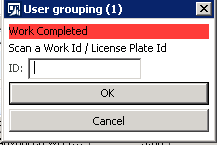
9. At this time items has been received and now needs to PUT. User will again go back to the Mobile Device and click the Purchase Put Away-
10. Scan with the Work ID. Copy the Work ID from the Purchase Order.

11. Click OK to proceed. At this time, system shows a Pick location as RECV.
12. Click Done to Complete.
13. At this time system will show the PUT location as BA-01-1-1. System is taking this location in PUT because in the Location Directives, the default location for Purchase PUT is given as BULK.
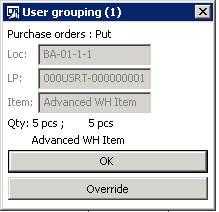
14. Click Ok and the Work will get completed.
15. Now navigate to the same work details. The status of the work gets closed.
So, this is the complete Inbound Process by WMS. Next user can confirm the order and do the product receipt.
Hope this post will help you in learning and understanding the Inbound process by WMS. In my next post, I will start up with the Outbound Process in WMS. Till then keep DAXing. 🙂 🙂 🙂

While saving the purchase order, system is throwing an error “License plate must be specified for this location”. License plate is disabled in purchase line.
Is there any reason to disable the license plate field purchase line.
Which is the logic when AX choose a location when bulk is selected in the put ? Is proximity to the inbound location?
Great help have not in practice as yet but like to get there
Thanx
Kourosh Bavarsagh
Great
Hi, thank you very much for your great Blog. I have only one question.
You are writting : So, this is the complete Inbound Process by WMS. Next user can confirm the order and do the product receipt.
And i would ask you, how to recive product recepit on mobile device. Could you help me, please?
For example. (Purchase manager creates purchase order and confirms it. Send it to the supplier. The goods comes.Someone receives it by mobile device with product receipt to the temporary stage. And it is needed to create work for other. Other Worker in warehouse needs storage this into the warehouse on fix location )
Thank you very much and greeting from Czech Republic
Ivan
in inbound process if we forget registration..what will happen?
where it will effect?
thank in advance.